I snuck some time for myself since I wanted to share some quick, fun and easy things that can help spruce up either your home, office, or table.
I have been hoarding this October Afternoon Very Merry paper for quite some time. I love the color combination on these papers. My inspiration to use this paper actually came from buying the cute little wire basket from Hobby Lobby. Isn't it amazing what can spark your inspiration!
So I did some traditional items for the holidays like my paper garland, and card and something a little less traditional- pinwheels! Yes, I said Pinwheels... they aren't just for summer! Come take a look!

For the larger Pinwheels I cut my paper to 8x8. I then
measured from corner to corner. I drew a pencil line from the corner down to
4.5 inches and then from the bottom corner up to 7 inches. (Smaller is 6x6 and
I went from the corner down to 3 and from the bottom corner up to the 5.5
inches.) I then cut on the lines. Next I punched the holes. Please see
diagram. I then took a border punch and
did the edges. Next take the brad and gather the corners and then put the brad
through the center and close it. The below diagram will help you place the holes.

The pinwheels are fun to use to dress up the candy
containers for little visitors, or to decorate a table. They are also fun to
use on a present as a bow to spiff up a special present for someone. You could
also attach them to your garland for a fun window dressing. The options are
endless and versatile for any occasion!


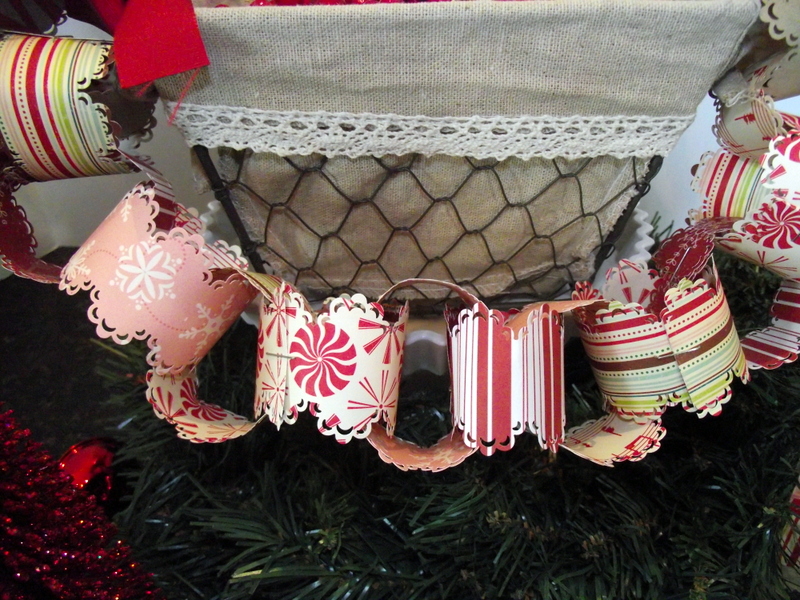
Garland How To:
For the garland again you will want double sided pattern
paper, or cardstock since the color shows through. For this I took my paper and
cut 2.5x 12 inch wide strips. I then punched down both sides of the strips. I
then cut them in half since I wanted a smaller looped garland. Then just take
end to end and staple take the next strip and link it and staple…
Incredibly simple but
oh so cute!! There are so many fun
variations you can do with this. You could alternate with cardstock or Kraft
paper, you can make bigger loops to use on a mantle or for above a window or
for a tree… you could stamp holiday sayings on them or you could take a punch
and cut a pattern along it… I am sure this isn’t the last garland you will see.
I just can’t believe it took me this long to think to use my punches on it.


I hope you enjoyed the vintage holiday projects and came
away with a few ways to dress up a special present for someone, to add some
unexpectant charm to a table or display, or helped inspire a holiday card!
Happy Holidays!!! And Happy Creating!
These are cute!! Great Job
ReplyDelete